Table of Contents Show
Used in cereals, sushi and the perfect base for curry, rice is an extremely versatile grain in terms of use across the globe. It is a healthy and nutritious source of food that also has an interesting history!
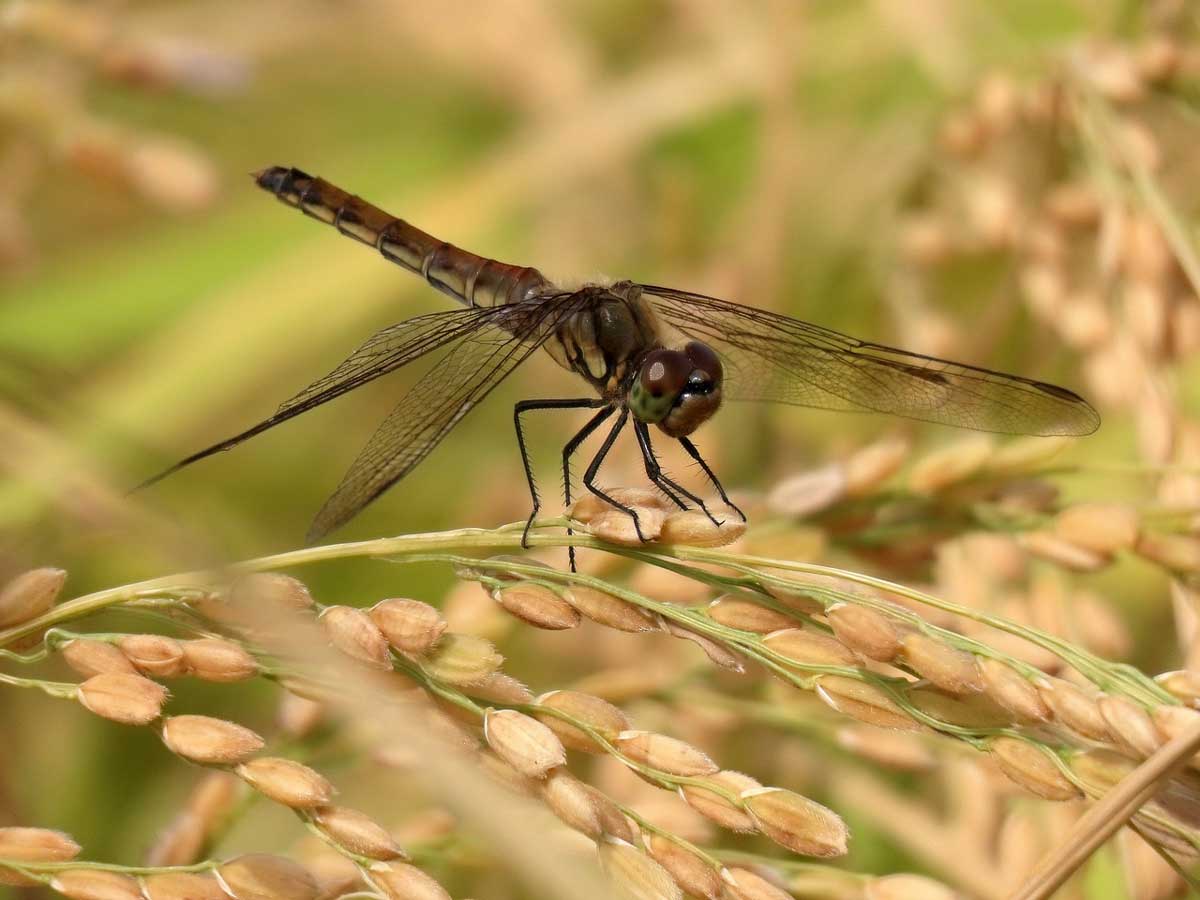
Rice is actually a seed of a grass species Oryza glaberrima (African rice) or Oryza sativa (Asian rice). It is a staple crop which provides for one-fifth of humans caloric intake worldwide.
Wild rice is the term given to the seed sourced from the species of Zizania and Porteresia. Sometimes, uncultivated rice variety of Oryza may also be called wild rice.
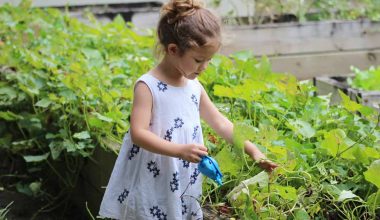
Planting rice can be a fun activity for home or school, where kids will get to learn what goes into a bowl of rice.
History of Rice
Rice is believed to be one of the oldest foods in mankind’s diet. Archaeologists can date it back to around 5000 BC and historians indicate that it was revealed in relation to China, where they had yearly rice ceremonies, as early as about 2300 BC.
They consider that the rice plant was also indigenous to India and Thailand.
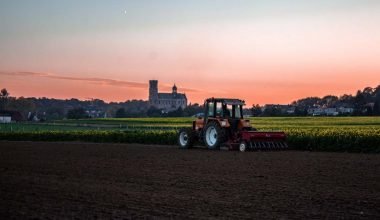
Rice arrived in the West by way of voyagers, soldiers, and merchants. It prospered in many environments but not too well in others.
Since the crop needs plentiful rainfall soon after it’s planted in the soil, followed by an abundance of warm, sunny weather, some nations – like England – are just not suitable for planting rice.
In South America, cultivation began in the Carolinas. However, Arkansas is presently the biggest producer, which had high success with producing rice; just like European countries where the weather conditions are ideal, like parts of Italy and Spain.
Several cultures still hold rice in high respect. In Indonesia and Japan, the grain has its own God. The Chinese dedicate an entire day of their New Year festivities to the crop.
In other Asian cultures, it’s thought of as a connection between Heaven and Earth. Indian beliefs include rice as being important for fertility, and this very belief led to the age-old ritual of throwing rice at a wedding.
Southeast Asia is a major producer of rice, which is considered a staple food in South Asian cuisine. But with the emerging climate crisis, South Asia is bound to lose its rank as a major exporter of rice.
Frost is harmful to rice crops. Over 85% of Japan’s farms produce rice. Hence, they are vigilant of any frost predictions before harvesting rice.
There are many organic rice farms in the U.S, where rice is grown in an eco-friendly way. Lundberg Family Farms from California grows different rice varieties such as brown rice, basmati rice, wild rice, jasmine rice, and more.
The International Rice Research Institute works towards eradicating hunger and poverty among populations that are dependent on a rice-based agriculture food system.
How to grow rice at home? Step-by-step
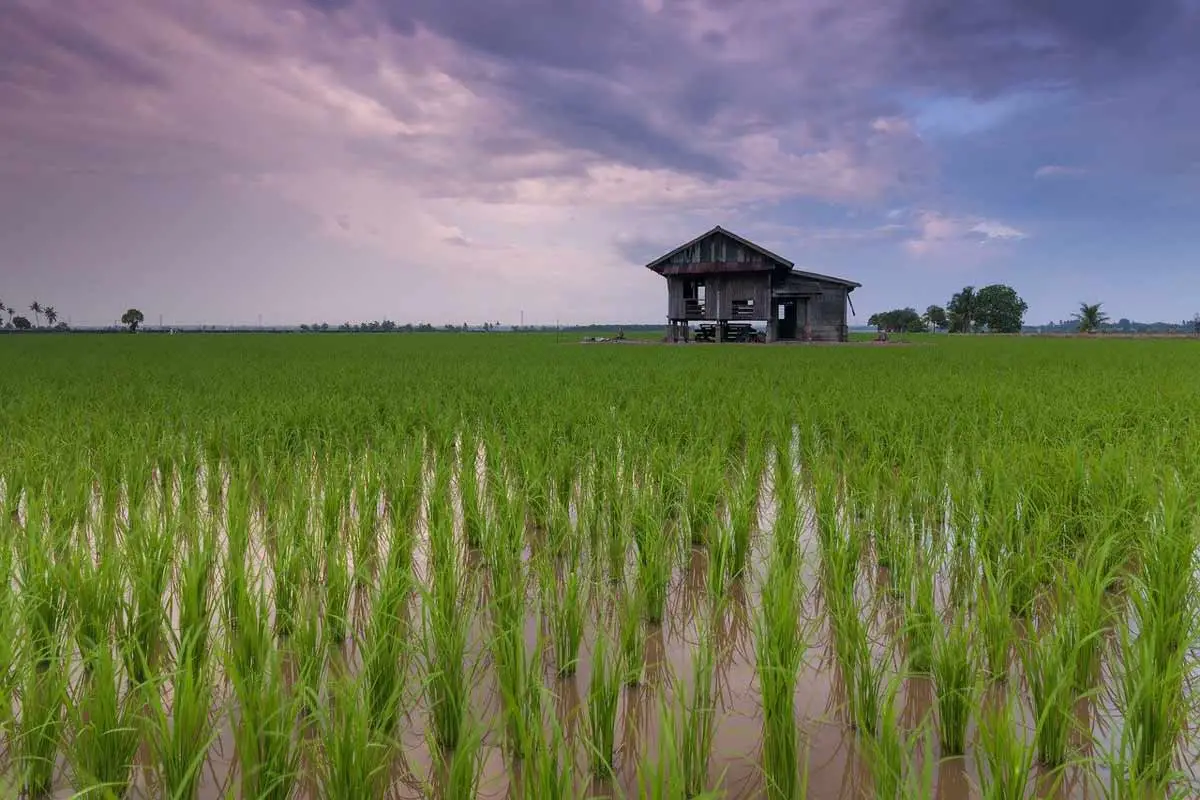
Rice comes in different textures such as long-grain, medium- and short-grain. It cultivates with no trouble in your yard, in a garden or in buckets, given the correct amount of soil, moisture, and other nutrients.
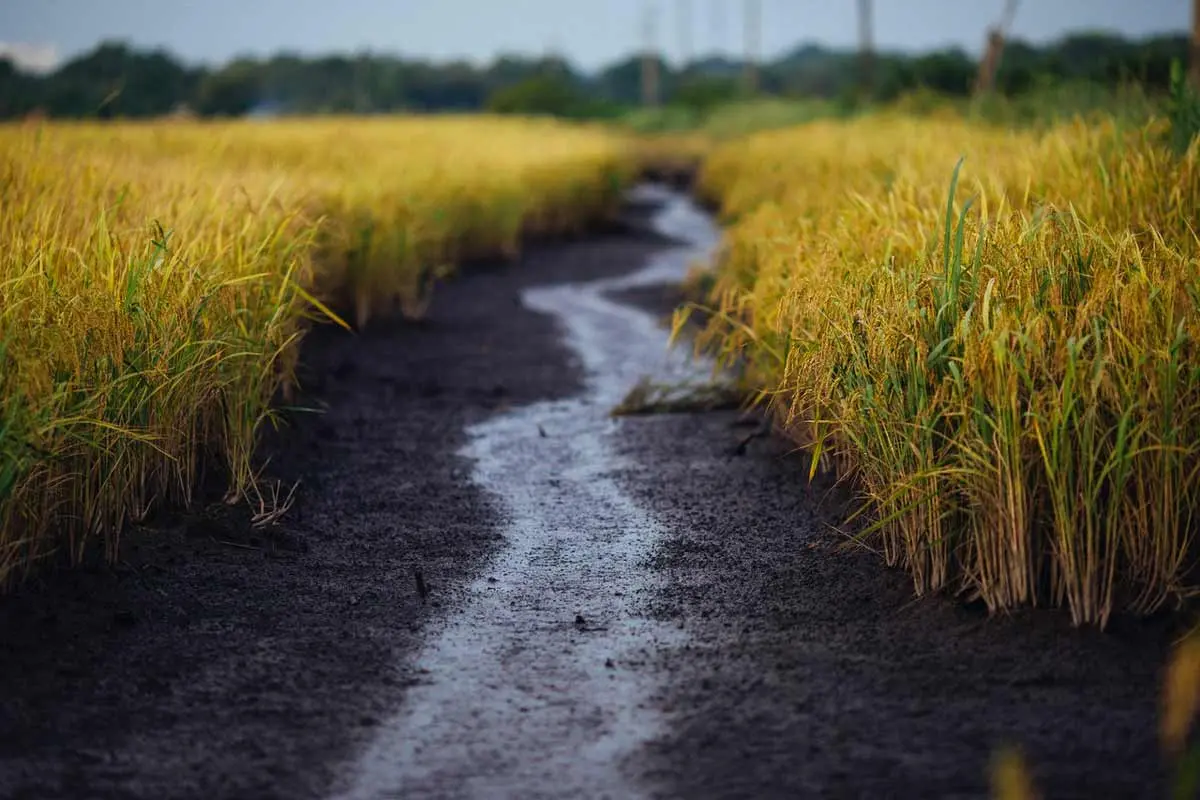
Short-grain, medium-grain and long-grain rice flourish in rainy conditions, precisely standing wet patches of water or swamp-like conditions.
When the rice grains mature, the water in which they develop must drain so that the crop can be harvested and milled. Once the harvesting and milling methods are complete, you can consume the rice.
That was just a summary of how the process goes, let’s dive into details on how you’ll be growing your own rice and becoming a rice farmer, starting today!
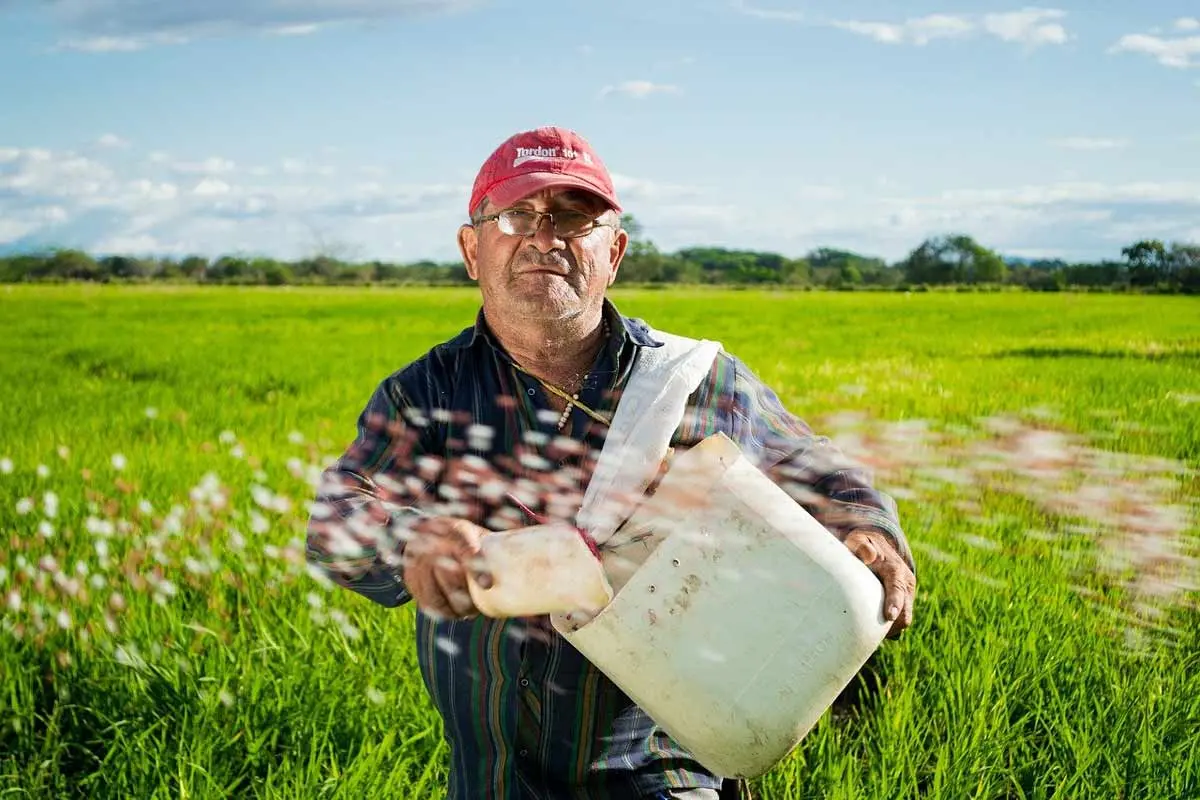
Planting rice can be quite productive like any other gardening project, but you will get the satisfaction of growing your own food.
Part 1: Planting and Preparing to grow your rice
Step 1: Buy Seeds
Buy rice seeds from any nursery or farmers supply market. There are six basic kinds of rice seed to pick from:
- Long-grain. This sort of rice yields grains that are light and fluffy. It is mostly a tad bit drier than other types of rice.
- Medium-grain. This variety is moist, tender, somewhat sticky, and slightly creamy when cooked. It has the same feel as long-grain.
- Short-grain. When prepared, short-grain rice turns out to be soft and sticky. It’s also somewhat sweeter – this is the rice to use for sushi.
- Sweet. This rice is occasionally termed sticky rice, and is mushy when cooked. It’s frequently used for frozen goods.
- Aromatic. This kind of rice has added aroma and fragrance than other types. This variety includes Jasmine, Basmati, Red, and Black Japonica.
- Arborio. This kind becomes creamy with a chewy center after cooking. It’s used mostly for risotto and other Italian meals.
There are also other varieties of wild rice seed which can sometimes be harmful to humans, hence not included here in this list.
Step 2: Select your planting site
Check soil and weather conditions. Ensure the earth/ground in the area you’re rice planting has a little acidic clay for the best outcomes. You can similarly insert your rice seeds in plastic buckets with the same soil.
Check the pH of the soil as it is integral in getting a high yield and can cause the loss of nutrients by organic matter. You can even convert your backyard into a small farm to plant rice.
PS: Anywhere you plant, ensure that you have a dependable water source and a plan to drain that water when time comes to harvest.
- Select a place that gets proper sunshine, because rice grows finest with bright light and comparatively hotter temperatures of at least 70° Fahrenheit (approximately 21° Celsius).
- Deliberate the season – your area should allow for 3 to 6 months of plant and flower growing. Rice requires an extended, warm growing season, thus an environment like the south of the United States is prime. If you don’t have lengthy periods of warmth, it would be better cultivating your rice inside.
Step 3: Prepping land and seeds
Get a minimum of 1 to 2 ounces (28.5 to 56.5 g) of rice seeds to scatter. Immerse the seeds in water to prepare them for planting, letting them soak for a good 12 hours but no longer than 36 hours. Take out the seeds from the water after that.
When your seeds are soaking, strategize where and in what way you want to plant them. Many choose to plant the seeds in rows to make it stress-free to water and remove weeds.
Think to build troughs and blocking the ends so that the water continues to be contained and blocked. That being said, the rice field doesn’t have to be flooded, it just needs to remain wet.
Step 4: Planting seeds
Place the rice seeds all over the ground, in the course of the fall or spring season. Clear out weed plants, prepare the beds, and smoothen out the soil. If you are using buckets, fill them with a minimum of 6 inches (15 cm) of damp soil.
At that moment, insert the rice seeds.
- It is important to remember that the space requires to be waterlogged. It’s considerably easier to flood limited reduced spaces than one large paddy field. If you’re planting outdoors, using some seed beds will be easier to cope and sustain.
- If you plant in the winter season, make sure to remove the weeds when springtime comes. The rice seeds require all the nutrients and soil area they can get.
Part 2: Looking after your seedlings in the soil
Step 1: Flooding
Fill up the buckets or the garden area with at least 2 inches (5.1 cm) of water. But, this is just a traditional recommendation. Many individuals claim keeping the soil constantly soaked is enough – it doesn’t need to be flooded completely. This part is up to you – just ensure it’s wet.
- Add fertilizer or mulch to the dirt, marginally covering the rice seeds. This will naturally stuff the seeds beneath into the soil. Organic compost has moisture, so this is a good disposition – particularly in drier climates.
Step 2: Keeping in Check
Keep check of the water height in the planting area, ensuring that the soil is constantly wet. If you’d prefer, uphold 2 inches (5.1 cm) of water level for the rice to develop.
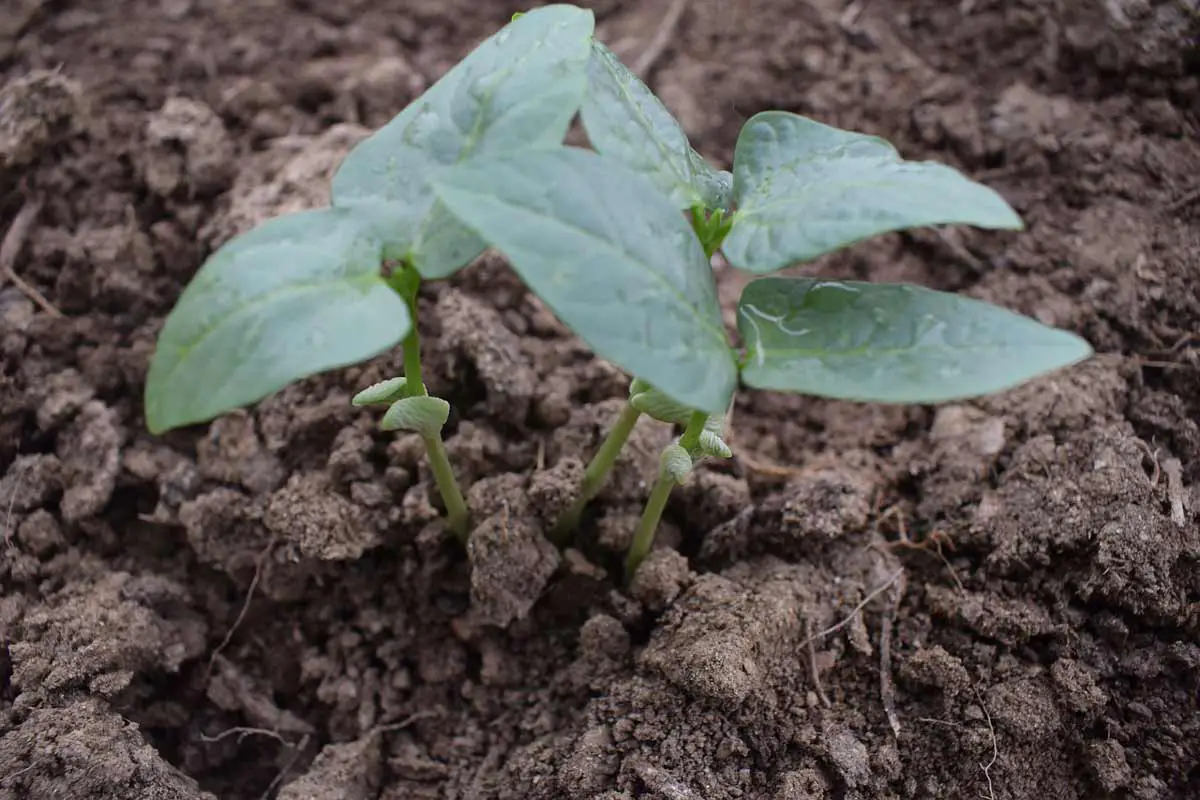
Anticipate seeing rice seedlings grow after about 1 week.
- If your crop is growing in buckets, you might want to move them at night to a warmer place if it gets too cold in the night. Rice grows well in warmth, and if the temperature drops, you’ll probably see slowed and stunted growth.
- Remember that flooding guidelines differ from person to person, commercial rice farmers sometimes have flooded rice paddy as deep as eight inches.. You might wish to increase the water when your plants ascents to the 7 inch mark. What strategies you exercise is up to you.
Step 3: Plant adequately apart
Thin, or space out, the rice seeds to prevent crowding. For best results, thin out the seedlings no more than 4 inches (10.2 cm) apart in rows that range between 9 to 12 inches (22.9 to 30.5 cm) apart. Allow the seeds to grow up to 7 inches (17.8 cm) tall, which takes on average of about one month.
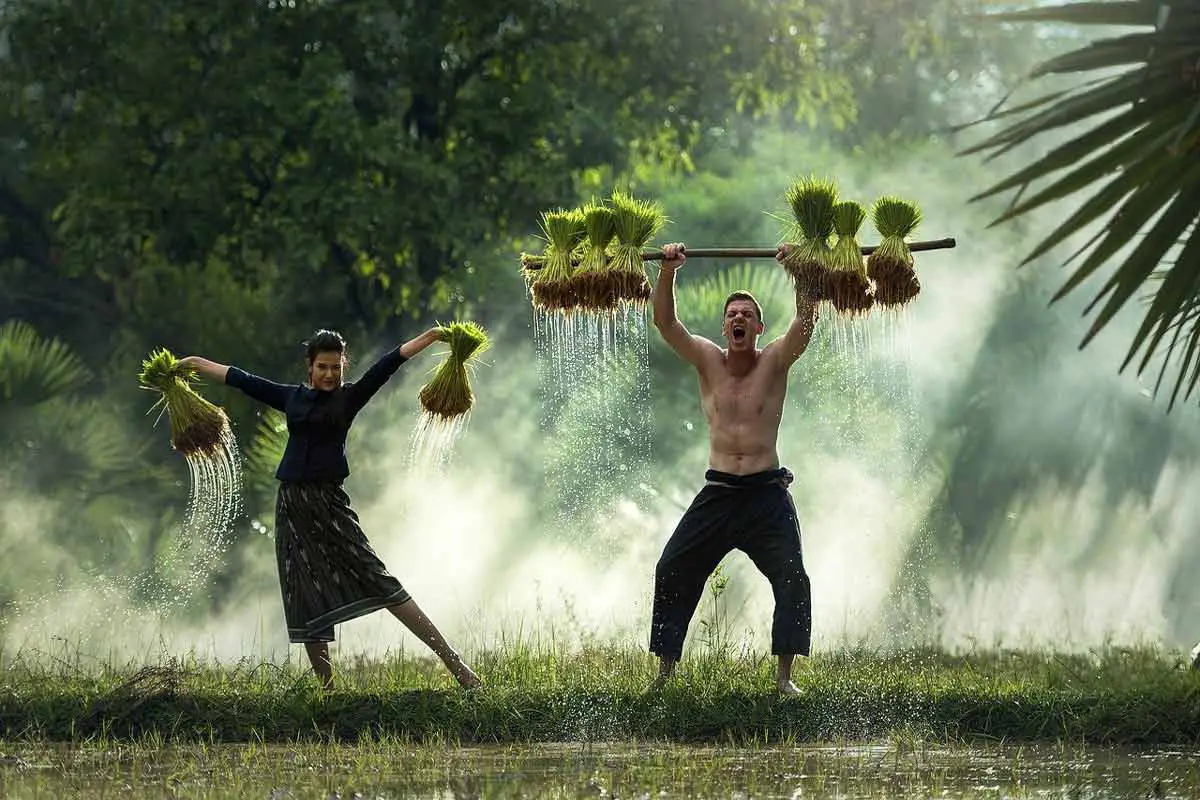
- Some people choose to start their plants off in a nursery bed since movement is always a part of the process anyway. If you follow this practice, transplant them when the rice seedling reaches 5-7 inches in height. They should be planted about a foot apart into a muddy bed.
Step 4: Be patient. Drain, Flood, Drain!

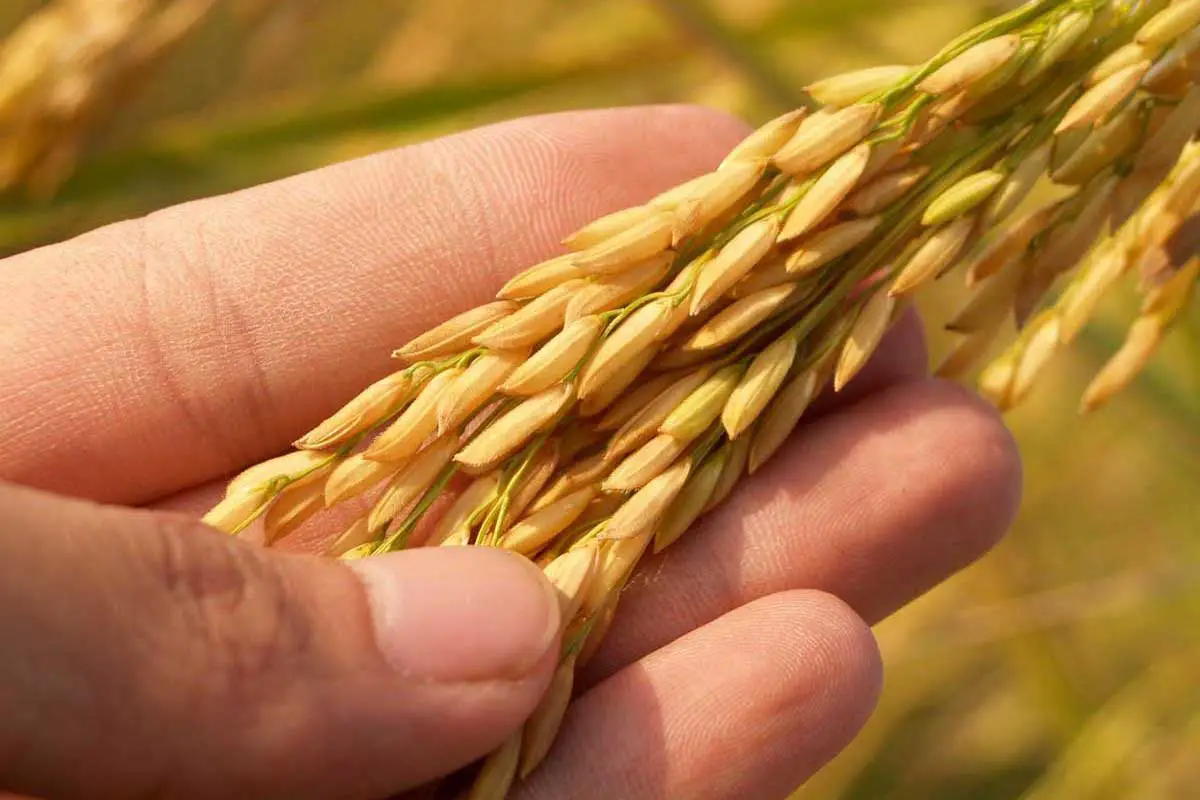
Cut a rice stalk once it matures. Wait for the grains to mature. This will take almost 3 or 4 months; during this time, they can go up to 17 inches high. Allow for the water dry out or remove any extra water prior to removing the rice for harvesting. Over the next two weeks, they’ll go from green to gold in color – that’s when you know they’re prepared.
- If you’re growing your rice, you might want to drain the soil when the plants are around 15 inches (37.5 cm) high, inundate (flood), and then drain once more. After which, go on as before, letting the rice dry and turn golden.
Part 3: Harvesting and Cooking the Rice
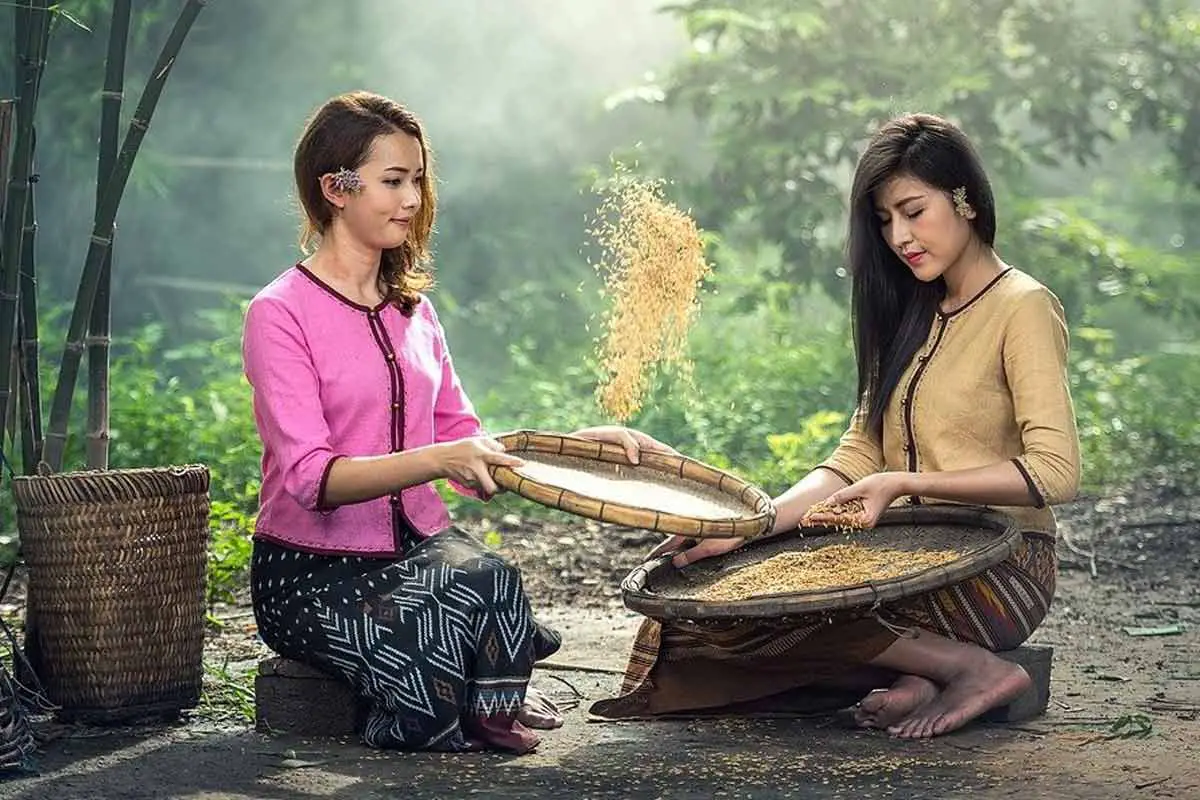
Step 1: Harvesting
Cut down the stems and allow them to dry. When the rice has turns gold (around 2 weeks or so after draining), they’re all set. Cut the stalks just below the heads where the rice grains are located. You’ll find small pockets over the stalk that are clearly the hulls of the rice.
- Allow them to dry for 2-3 weeks. When the stalks are cut, cover them in newspaper and maintain dryness in a sunlit place for 2-3 weeks. The wetness needs to entirely dry out for you to access the grains efficiently.
Step 2: Baking

Bake the grains at 180°F (82°C) for an hour. Take the rice heads and place them in the oven for roasting. Make sure it’s not too hot otherwise the rice grain will burn. At this point, they should turn a darker color of golden brown.
Step 3: Final Touches
Remove the kernels from the hulls (brown covering). Once baked in the oven, let them cool. Then buff them using your hands (or a mortar and pestle) to remove the grains from the hulls.
Now you’ll see how rice comes to life, in fact, you will recognize the end product that reaches your plates of food ever so often, ready for cooking and consumption.
To be noted, rice farming can be pretty wearisome – after which you’ll be pleased by modern technology.
Before I forget, you should also know that you can make rice flour from this rice too!
Take 1-2 cups of rice, rinse them up and soak them in water for 3 hours. After soaking, spread out rice on a dry towel and let it dry (until moist) for an hour. Grind these grains in a grinder, until fine in consistency. Take out this flour and use a sieve to sift it onto another container. You now have rice flour!
Different Methods to grow rice
There are primarily 3 major and 2 minor ways to cultivate rice. They most differ in water levels and consumption.
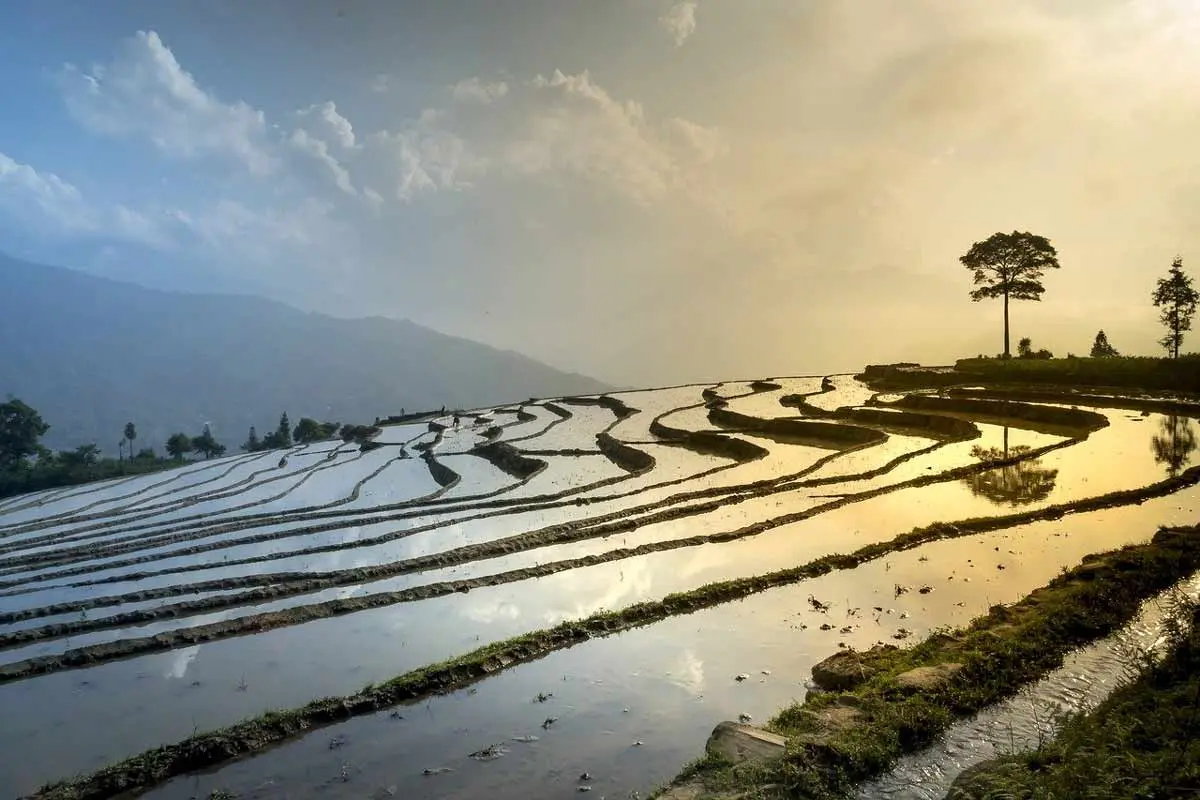
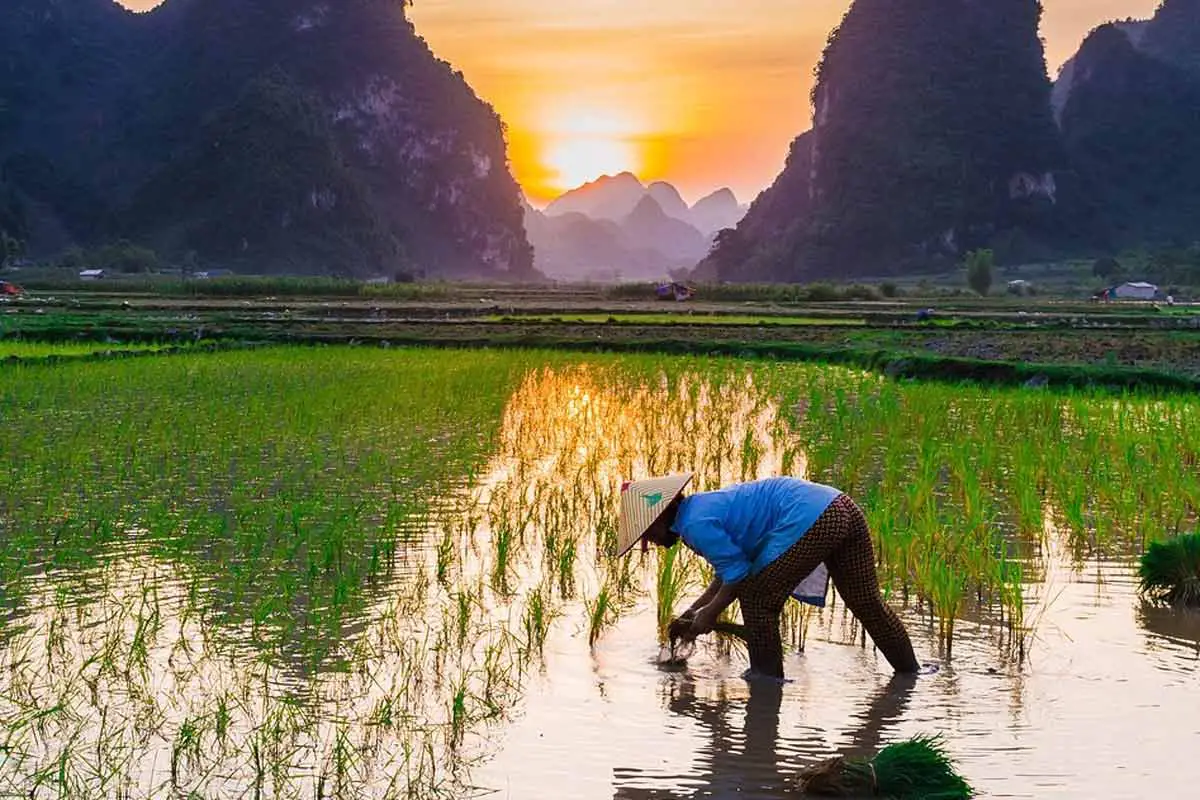
1. Lowland or Paddy rice production
This is the most popular way of growing rice commercially on croplands. Rice is cultivated on land that is waterlogged, either fed by rain or irrigated. The volume of water ranges from 2 to 20 inches (5 to 50 cm). This forms a rice paddy over the cropland.
2. Floating and deep-water rice.
Rice is produced in land that is exceedingly flooded. The deepness of water surpasses 20 inches (50 cm) and can go up to 200 inches (5 meters). Only specific rice varieties can be cultivated in this manner.
3. Upland rice cultivation
A very small fraction of world’s rice farms use this method. Rice is nurtured in non-flooded soil, and the crop rests highly on rain water.
Natural levels of precipitation are the sole way to wet these grounds.
It is grown in unbunded or bunded fields without any surface water buildup. The upland environment is considered to be drought-prone with erosion problems and poor soil.
In such circumstances, one must take into deliberation that there needs to be 3 to 4 months of recurrent rainfall, something that is undeniably essential so that the plants can grow accurately.
4. System of Rice Intensification
The system of rice intensification (SRI) is farming method to increase rice yield with minimal use of water.
The main principles are to apply minimum water and singly plant every seedling in a square pattern on the rice field.
Also, the major disadvantage is that it is labor intensive.
5. Drip Irrigation of Rice
Drip Irrigation can also be used to grow rice. Growing rice this way reduced water use by 70%, Arsenic uptake by 90% and brings Methane emissions to negligible amounts.
Switching 10% of the world’s paddy rice farmers to drip irrigation could reduce emissions similar to removing 40 million cars off the road!
Pests and Diseases
Each year, more than one-third of rice crop is victim to pests and diseases. It is significant to be aware of our crop nemeses and create an environmentally friendly attitude in order to confront them.
Pests
Planthoppers and Leafhoppers; Planthoppers (Delphacidae) repeatedly attack rice stalks, whereas leafhoppers (Cicadellidae) damage the aerial sections of the plant. The damaged plants have a dark brown color as if they got singed (slightly-burnt).
Defoliators; Ample of pests (Lepidoptera, Orthoptera, and Coleoptera), go to rice leaves for nourishment.
Insects that attack the grains; Oebalus pugnax, called the rice stink bug harm young plants and feed on their grain.
Diseases
Bacterial blight; This infection is initiated by Xanthomonas oryzae. It occurs in both mild and hot weathers, with high levels of humidity. It is accountable mostly for the yellowing of leaves.
Bacterial leaf streak; This disease is too caused by the same Xanthomonas oryzae. It can be located in sickly and damaged plants in places with high levels of humidity. Bacterial leaf streak is responsible for dehydrating and browning of leaves.
Brown spot; It is a fungal infection that largely taints leaves and panicle. Big brown spots start to appear all over the leaves. It is one of the most destructive rice diseases and happens commonly on fields with a lot of humidity.
Ergot: Wild rice seed can be infected with ergot, a dangerous form of fungus. Consuming wild rice seeds infected with ergot can be injurious to health. The seed grains will have purple spots on it.
How to protect rice plants from pests and diseases?
The optimum method to regulate these pests and diseases is deterrence. Rice growers intend to take into consideration the following measures.
- Correct cleaning of the ground and tools used in rice paddies are crucial between seasons.
- Use of expert level grains.
- Avoid unnecessary use of excessive fertilizers.
- In several cases, pesticide use is not recommended within 40 days of sowing.
- Suitable storage of grains. In various cases, grains are kept in containers with 13-14% moisture.
What is the difference between Brown rice and White rice?
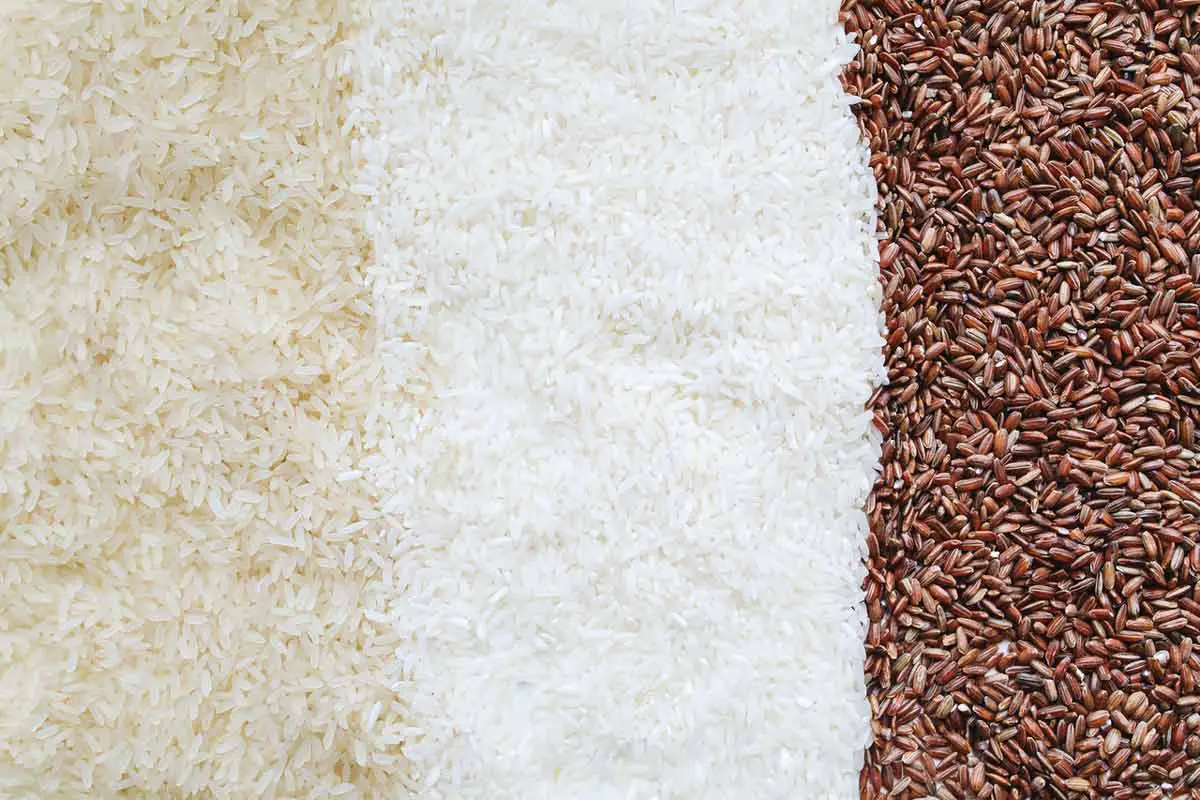
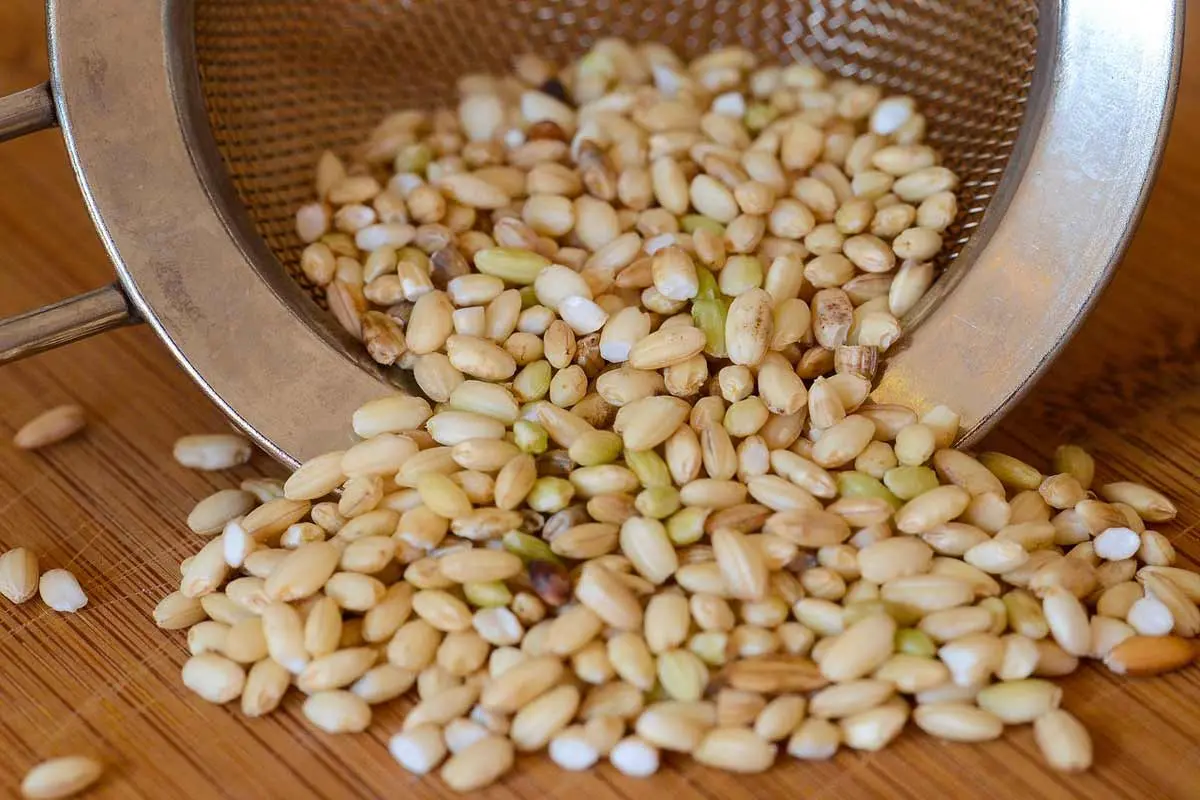
The difference lies in the amount of processing paddy rice has gone through after being harvested.
After harvesting paddy rice, hulls are removed. Rice hulls are necessary to be removed as they’re not edible. Brown rice is what you get when hull is removed. The bran on the rice still remains, and gives it the characteristic brown color.
P.S: The hull removed from paddy rice can be used to produce pet food, fertilizers and in some cases, building materials.
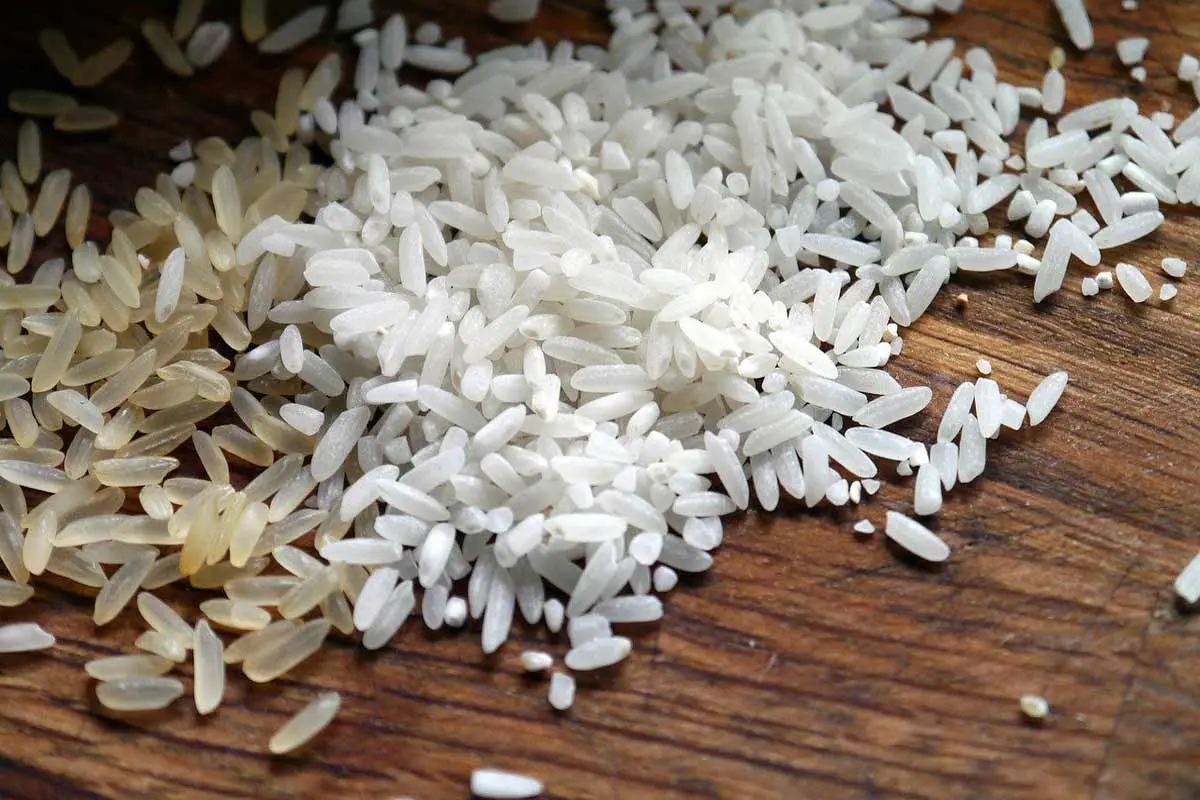
Brown rice is then further polished to make white rice, removing the dark-colored bran.
Unfortunately, polishing brown rice brushes off almost 75% of the nutrients on its surface. This is why your gym trainer asks you to eat brown rice, it’s just healthier!
Also, Remember, Rice is a good source of protein and an awesome staple food, but it’s not an absolute source of protein. There are many amino acids needed for human diet which are not available in rice. Hence, eat it with other sources of protein like beans, red meat or fish.