Table of Contents Show
What is Balsa Wood (Ochroma)?
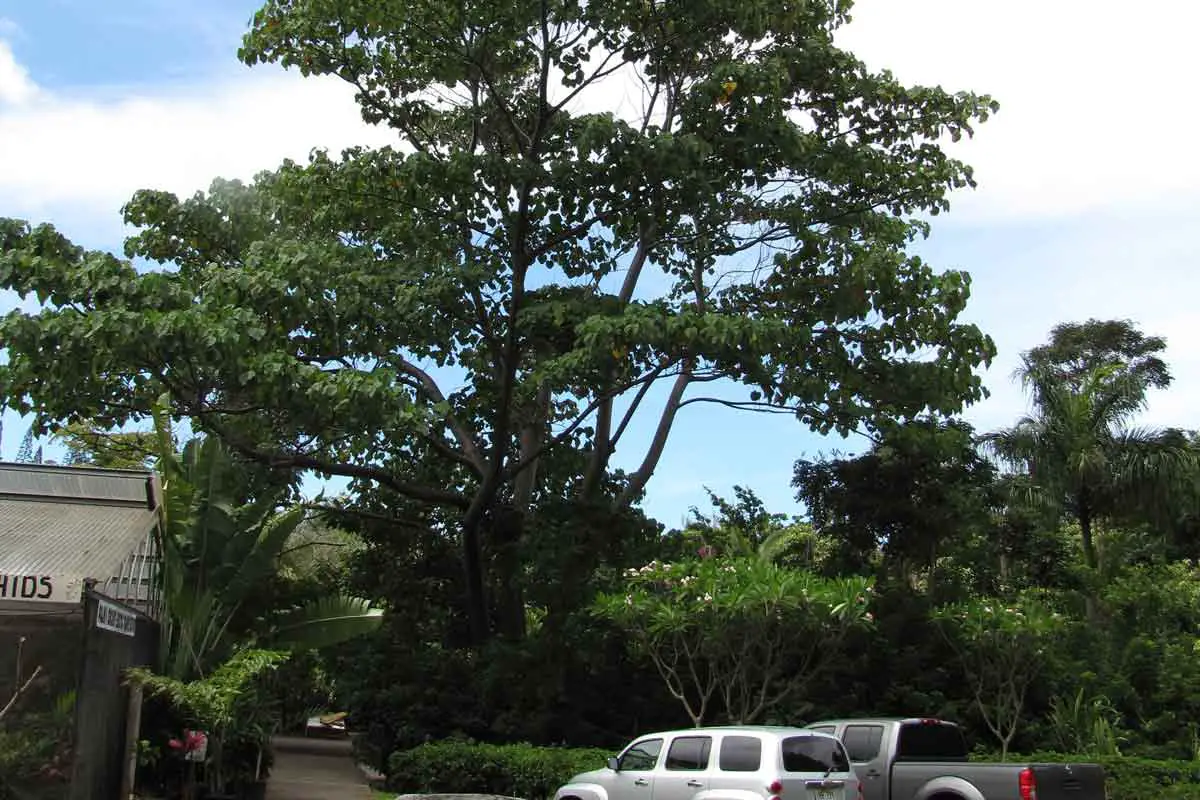
Balsa wood originates from the Balsa tree (ochroma pyramidale). This is a fast-growing tropical tree reaching heights up to 30 meters. It belongs to the mallow (Malvaceae) family, and is known for its light-colored and lightweight wood.
These high balsa trees are found in rainforests of South and Central America as well as Mexico. Here, these trees grow naturally from Guatemala in Central America through to the Northern and Western coasts of Southern America; up to Bolivia.
Major production of Balsa is in Ecuador on the West coast of South America, the main source of model-aircraft-grade balsa worldwide.
Although this wood is being used since ages, it’s main claim to fame comes from 1947 expedition of Thor Heyerdahl, a Norwegian explorer who sailed across the Pacific Ocean from Peru in South America to Polynesia in Kon Tiki, a raft made from balsa logs lashed together with ropes.

In fact, the word balsa is derived from ‘raft’ in Spanish. This refers to its excellence in floatation in Ecuador. It is also called as Boya or Buoy, due to its high buoyancy. The Balsa wood is renowned for its lightness and softness worldwide.
It has a density range of 4-7 Kg per cubic foot. Despite the fact that it is very soft and lightweight in nature, it is still classified as a hardwood.
Balsa wood is considered by some people as the strongest wood and is also used in making of wind turbine blades, model making of aircraft and sports gear such as table tennis bats and surfing boards because of its lightweight, low thickness and high versatility characteristic.
Features of Balsa Wood
Grain
The Balsa wood is made of three types of grains, A, B, and C. Generally, balsa wood grain is straight and has a medium texture.
Type A: It is unique in its long fibers and it can be seen with the naked eye as long-lined. In balsa wood sheets, it is highly flexible and can also bend at curves very easily. It also warps very easily as well.
Type B: Its sheet form goes on to display the characteristics of both A and C type. The line of grains is shorter than those of A type and is much stiffer to touch across the sheet. It can be used for various purposes.
Type C: It has a beautiful mottled appearance. It is very brittle; it can split or break easily. That being said, it can also feel stiff on touching.
However, if used carefully it can help to build lightweight and strong models.
Appearance and Color
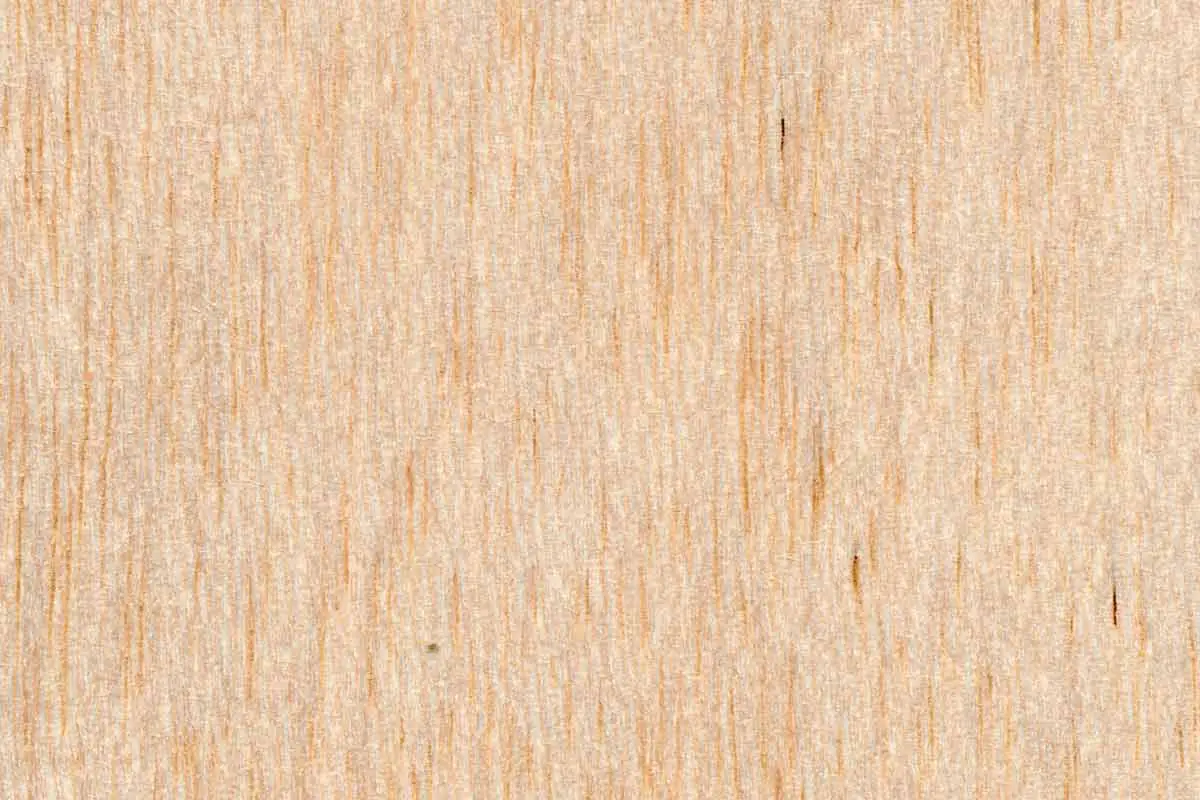
Balsa’s heartwood is said to be identified as pale and rusty in color. It is not a part of commercial timber. Most of the balsa boards originate from sapwood that is tan or off-white in color. Sometimes there is also a tinge of pink or yellow. You might even notice a tinge of yellow or pink!
If you notice pink, don’t freak out like I did!
Odor and Allergies
Balsa wood doesn’t have any distinct or definitive odor, one can term it ‘odorless’. It has no history of causing any severe allergic reactions.
Other Features of Balsa Wood
- High strength and stiffness-to-weight ratios
- Excellent performance against fire
- Highest sheer strength for its low density
- Renewable resource (if you plant sustainably)
- Wide operating temperatures
- Good fatigue resistance
- Impervious to styrene (a strong chemical)
- Good sound & thermal insulation
- Very Economical (Relative to Plywood)
Cultivation of Balsa Wood
95% of commercial Balsa is supplied by forests in Ecuador. In the past few years, 60% of the plantation is grown in densely packed patches of 1000 trees-per-hectare. It is evergreen, with large palm-lobed leaves of 40 cm diameters.
The tree can be harvested after every 5 to 10 years of growth, depending upon the product that needs to be made. What is more necessary is to ensure that companies plant and harvest trees sustainably.
After harvesting, balsa is kiln dried to make it ready for use. Kiln drying gives balsa would its durability and unique light weight.
Uses of Balsa wood
Boats and surfboards
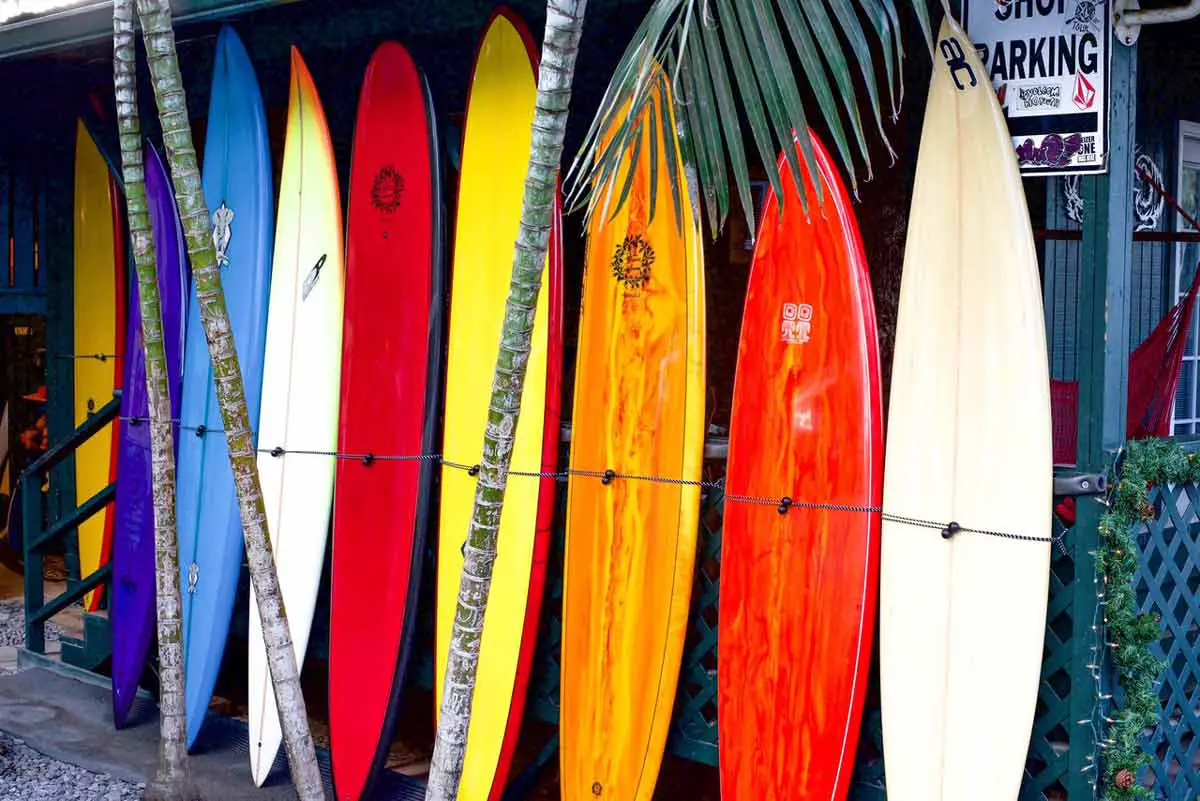
Balsa wood sheets are placed in between layers of fiberglass to buttress its hardiness and flexibility. This also increases the weight of the watercraft in due process.
Balsa wood sheet is very sturdy and it is used in decoration, laser projects, model airplanes, towers, bridges, and other sculptures. The surface of the wood sheets is burr-free and smooth.
This gives boats and surfboards buoyancy and stiffness.
In the boat industry, this has termed balsa a ‘core material’. Balsa core material has gained popularity as an economical solution to foam core material.
Furniture
Interior designers have now shifted their attention to balsa wood as a convenient source for making furniture. This is because of its excellent sustainability along with its aesthetic properties.
Often times, a balsa wood strip would be used to line the edges of furniture during finishing.
Aerospace
Balsa wood became very popular after its famous use to construct British de Havilland Mosquito combat plane in World War II.
After that Balsa wood found its way into the aerospace industry. Today, its combined with other core materials to make a composite structure which is used in turbine blades, flat fuselage sides, transport containers, radomes, flaps and interior of an airplane.
Table Tennis Rackets
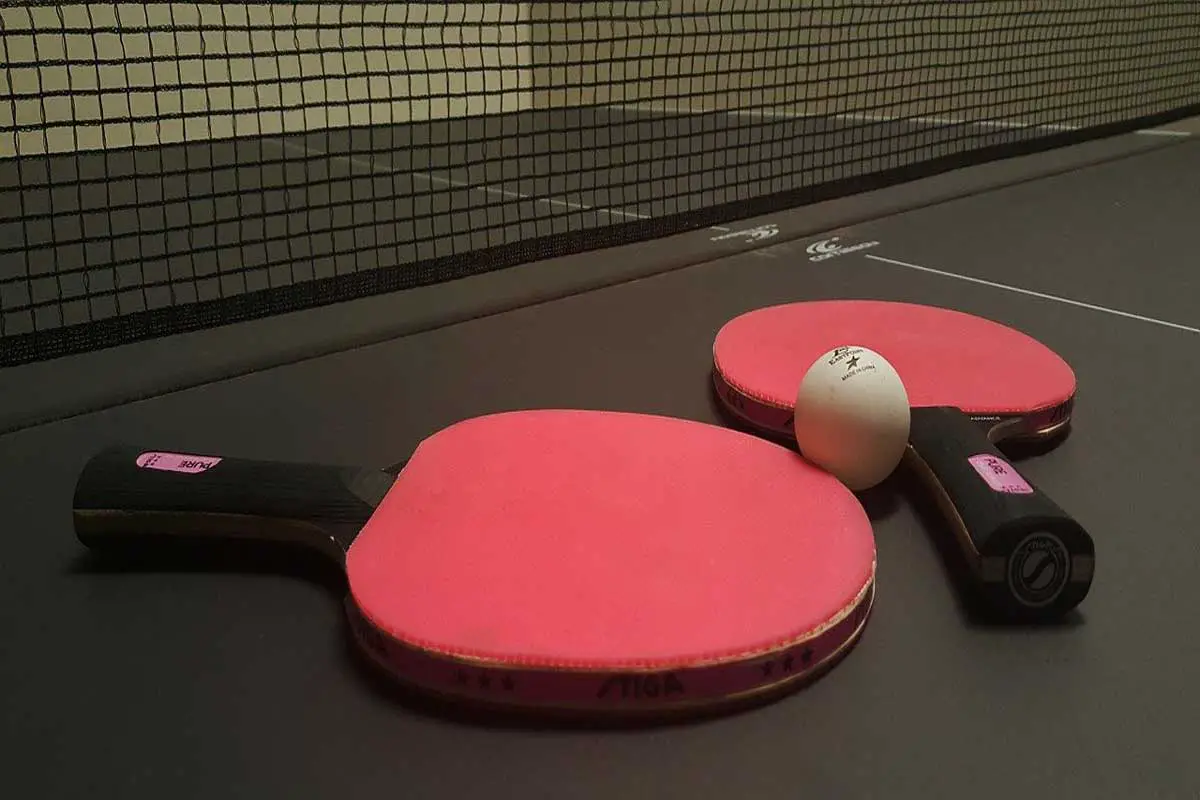
The balsa sheets are laminated and placed between layers of plywood to make table tennis rackets.
Good insulator
Balsa wood is a very efficient insulator, thanks to its favorable thermal properties.
Model bridge

Students of engineering and physics use balsa wood to make model bridges for their projects. Other than this, Balsa is often used to make complete architectural models as well.
Wood carvings
Balsa wood is easy to work with and perfect for wood carving and whittling. It is soft and carving would only require a few basic tools to create interesting shapes. Carving a wood such as balsa is great for amateur carvers to learn the basics.
Model Airplane
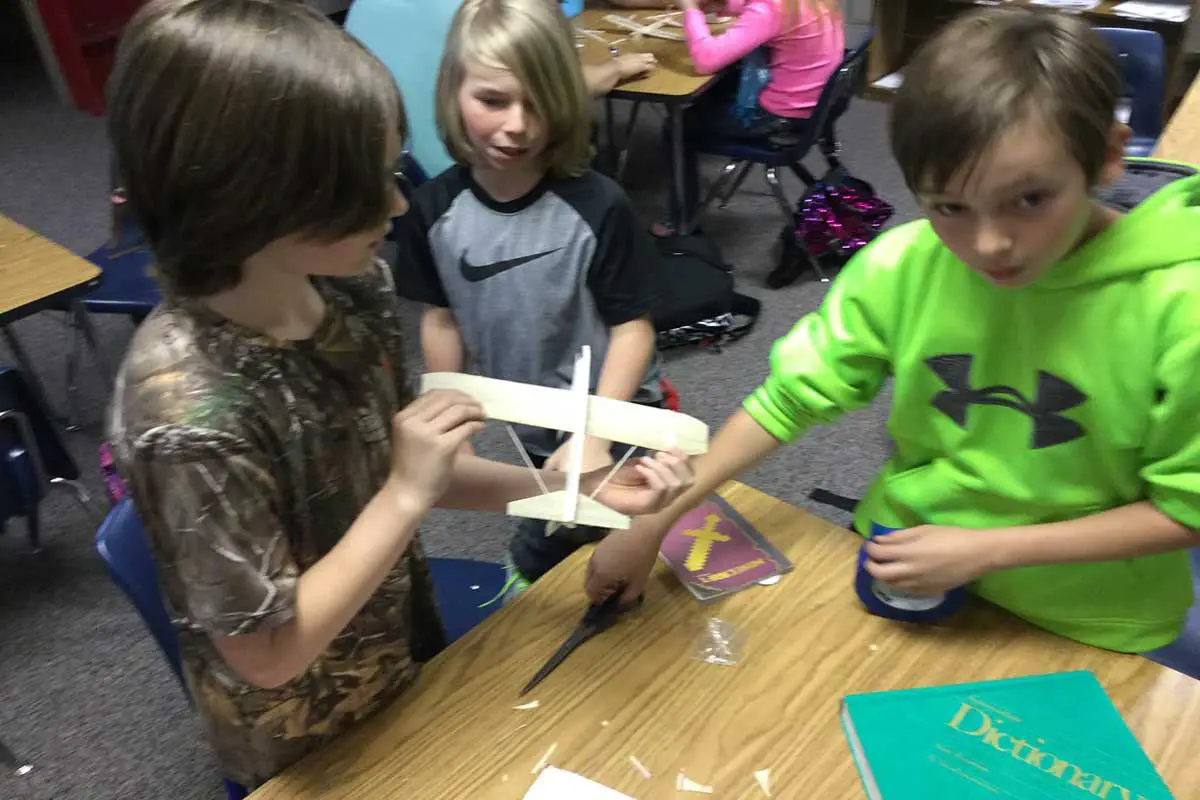
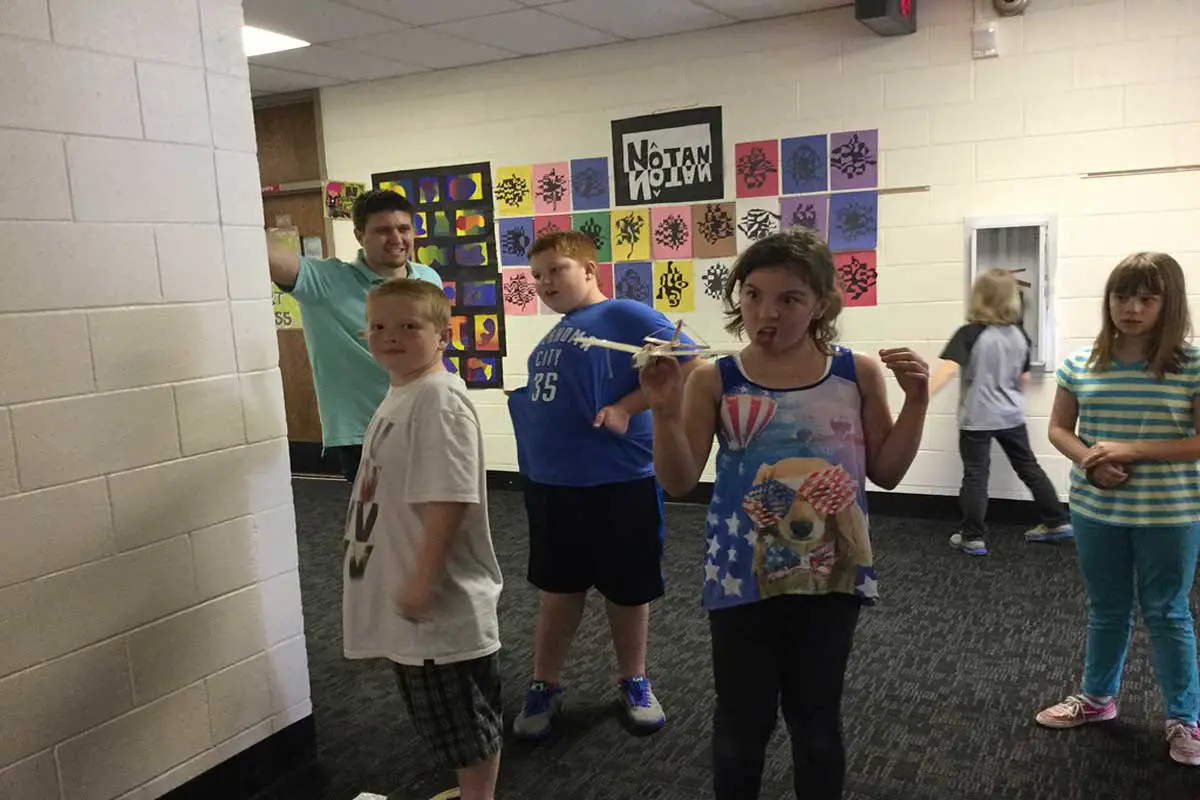
Most model airplanes are made of balsa wood, especially the sticks and central structures. This is a great fact for hobbyists who want to make their own model planes.
When I was young, I broke my model airplane in its first flight! I had no experience and accidentally launched the plane. The plane went ahead and hit a wall 50 meters away. It’s only because of the planes light weight that it reached the distance.
Now that I think about it, the plane may have been made of balsa wood.
Fishing
Balsa wood is also used to make wooden crankbaits for fishing, especially the popular Rapala fishing lures.
Musical Instruments

String instruments like the guitar and violin use balsa for outer casing. This is because of its excellent acoustic sound-generating capability.
Balsa wood gliders
A glider is a special kind of aircraft that has no engine. Three forces are acting on a glider during the flight, as compared to four acting on a powered aircraft. Aircraft gliders are made from different kinds of materials including rubber and balsa wood.
Advantages of Balsa wood
The balsa wood is a highly soft, lightweight, buoyant, and versatile wood.
Being lighter than cork makes it ideal for lifebelts and life preservers.
Its softness and flexibility makes it perfect for model building of structures and aircrafts.
Its hardiness can also be employed in making fishing lures. The durability of the wood is down to the fact that it has a very high ability of retaining water.
The good insulating ability makes it easy to be used in cold storage rooms and refrigerators. Not just that, its insulating properties can also be extended to sound devices.
It is very easy to grow balsa wood. Once grown, its flexibility makes it easy to mend according to product needs.
P.S: Balsa is often compared with thin plywood for use. Plywood (1/64″) is stronger than thicker balsa (1/16″). However, you rarely need that strength with very thin sheets or use in sheet balsa wings. Thin plywood is also relatively MUCH more expensive!
Disadvantages of Balsa wood
Balsa wood is an expensive wood to buy. Unless you’re buying it in bulk, it won’t be cheap.
The wood is relatively more flammable so must be kept away from matches, lighters and any igniters.
It is not strong enough for a number of woodworking projects due to its low thickness and being the lightest wood.
It’s very vulnerable to water. You must protect it from water at all costs (the same way you might protect your beloved smartphone).
Water ruins the flexibility and texture of the wooden sheet.
How to make balsa wood gliders? (With Video)
We mentioned earlier that balsa wood can be used to make gliders. Well now we will try to guide you through the steps to make your own balsa wood gliders.
This small guide is very helpful in making gliders for both outdoor and indoor purposes, with or without a launcher.
Remember, making a balsa wood glider requires a lot of time and patience, so be sure to have both of these things in abundance.
Requirements
- A knife or a razor blade
- A pencil
- A ruler
- At least 1 ft. of aluminum wire
- Strong glue and school glue
- A few inches of plywood
- A drill
- Sandpaper; 100, 80, and 60 grit.
- 1/16 x 4 x 36 in Balsa Slice
- 25 x ¼ x 3/8 in redwood
- 2 of the 3/32 x 3 x 36-inch balsa strips
- 3 inches of steel wire
- Ping pong balls or other weights
- Durable rubber bands
1. Glue
For both of the balsa pieces, cut off 5 inches of width.
Take the bigger piece and put it on top of the smaller piece of balsa wood so that they may be parallel to each other.
They need to become aligned at the top so that there is no gap between the bottom 3/32 piece and the 1/16 piece which is 1 and ½ inches long.
Now, in this position, glue the 3/32 x 3 x 36 balsa sheet onto the 1/16 x 4 x 36′ balsa sheet using superglue onto the edges and corners. Use school glue everywhere else.
2. Cutting
After the glue dries off, cut the wing profile into shape with a razor blade. Use the blade very carefully as it is sharp and may cut your hands.
If you have any gloves in the workbox, please use them!
3. Airfoil
The airfoil is the cross-section of the glider’s wings. They are important for helping the glider fly.
In order to make your airfoil, start by removing the wood from the lower part of the balsa top piece and place them where the two balsa pieces intersect.
Now we’ll be cutting with a razor blade again to make balsa wood strips. Laser cutting can also be performed here, especially for better precision.
Use a razor blade again to cut the strips of wood. Make sure to create a gradual slope from the high to low instead of a harsh “step” in thickness.
Then remove excess wood using the blade from the leading edge of the wing. Smooth out its shape using a sanding block with increasing grits.
The last step is to wet the trailing edge with some water and then gently use your fingers to curve it down a little.
4. Dihedral
Having a glider with a dihedral profile provides some stability to your wings during flight.
But before you do this, decide if you want the glider to turn/curve during flight or if you just want it to fly straight.
If you want it to turn during flight, mark the vertex of the dihedral angle anywhere but the middle.
If you want it to fly straight, locate the center of gravity of the wing by balancing it on a ruler until it doesn’t tip.
Use a razor blade to make a line in the place you have marked, making sure it is perpendicular to the length of the wing.
Then score another 6 inches of a line perpendicular to the first, parallel to the wing, and then closer to the leading edge.
Gently fold up the wetting line and apply lots of super glue to the line.
Time to wait
5. The addition of aluminum wire
Once the wings have sufficiently dried, start to bend some aluminum wire and super glue it into the second grove you cut. This will provide strength to the wing. Also, glue the aluminum wire to the trailing edge. This will protect against pressure cracks from the stress of rubber band.
6. Winglets
If you wish to add winglets, cut 2 quarter-circle shapes that have the same radius as that of the wingtip.
Take a scrap of balsa wood or another piece of scrap to support the winglet. Apply glue on both the winglets with the supports using school glue.
Now let it dry and your wing is finally complete.
7. Addition of mount
Now you will have to add the mount to the wings.
This will require you to have two pieces of 1×2 inches of balsa sheet that can easily be cut-off in the shaping step.
8. Time to work on the body
In order to construct the body, you will need two pieces of redwood.
Drill holes at every inch down the length of both pieces. This will reduce weight and make the glider more buoyant in wind.
You need to make sure that both redwood pieces are same in dimensions. It is easier for you to first mark out where you will be drilling, with a pencil or a counterpunch.
This wing design can also be mounted on better bodies for better flight outside.
9. Connecting Pieces
Connect the two sides of scraped basswood and sandwich them with redwood on top and bottom.
You must require three of these sandwiches, one being in the front and the other two being in the middle.
Leave the back open so you can bend it to the attached tail.
10. Making of the tail and attachment
Use the same method that was instructed to make the body. Then curve two body pieces inwards and attach them to the bottom of the fin.
11. Attachment of the wings
Fold 2 paperclips and then cut them to about 3 inches. Attach these wings using rubber bands hooked together over the paperclips that will thread through the holes.
But first, you must figure out where you will put the wings. Keep the weight of the glider such that the center of gravity on any glider should be 1/3 from the leading edge of the wing.
Thread the paper clips through the holes you have drilled, a bit more than 2 inches in front of and behind the center of gravity that you have marked.
Hook the rubber bands onto the paperclips and then stretch them over to hook onto the second paperclip to form an X pattern, checking the center of gravity with the wings being attached.
If it is not ½ inch from the leading edge of the wing (as previously stated), you may need to add or reduce weight accordingly in order to achieve this objective.
Now comes the real work…Just kidding! Time to fly it.
And now finally, after all the hard work you are done, test out your glider. Show off your efforts and enjoy playing with your craft.
Video Guide to Balsa wood gliders
There are other various videos available online that can be used in accordance with the guide we have just written. Here’s a video you can watch as a supplement to this guide.
I hope this guide helped you out, or at least motivated you to make a balsa wood glider. Just remember to buy balsa wood sourced from sustainable forests.